Share
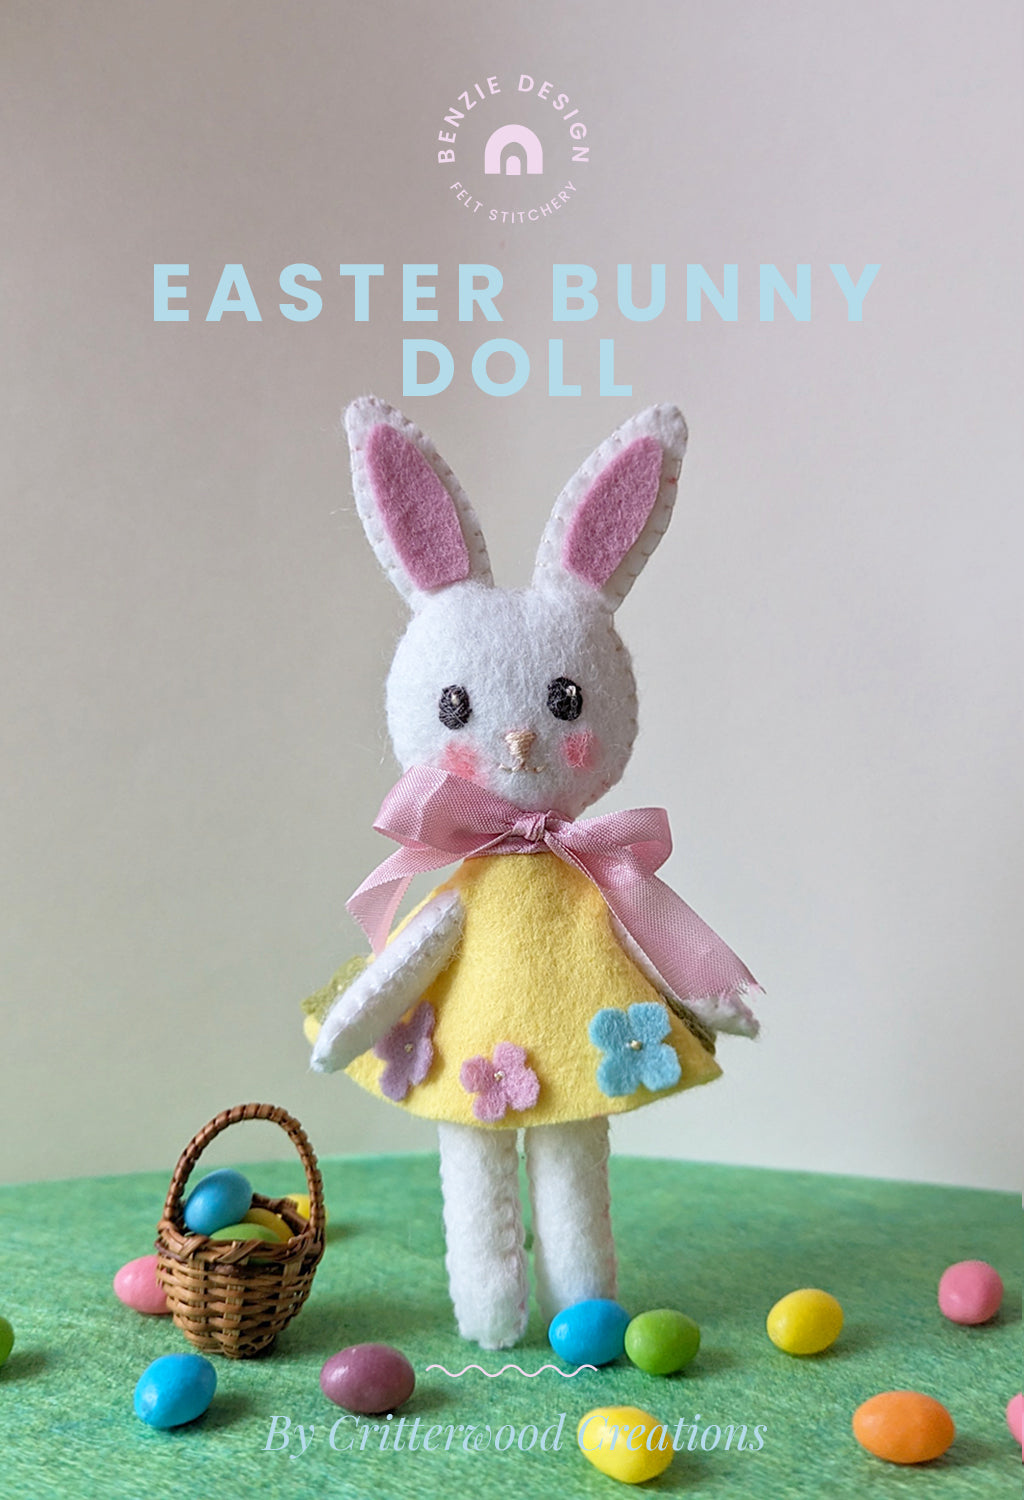
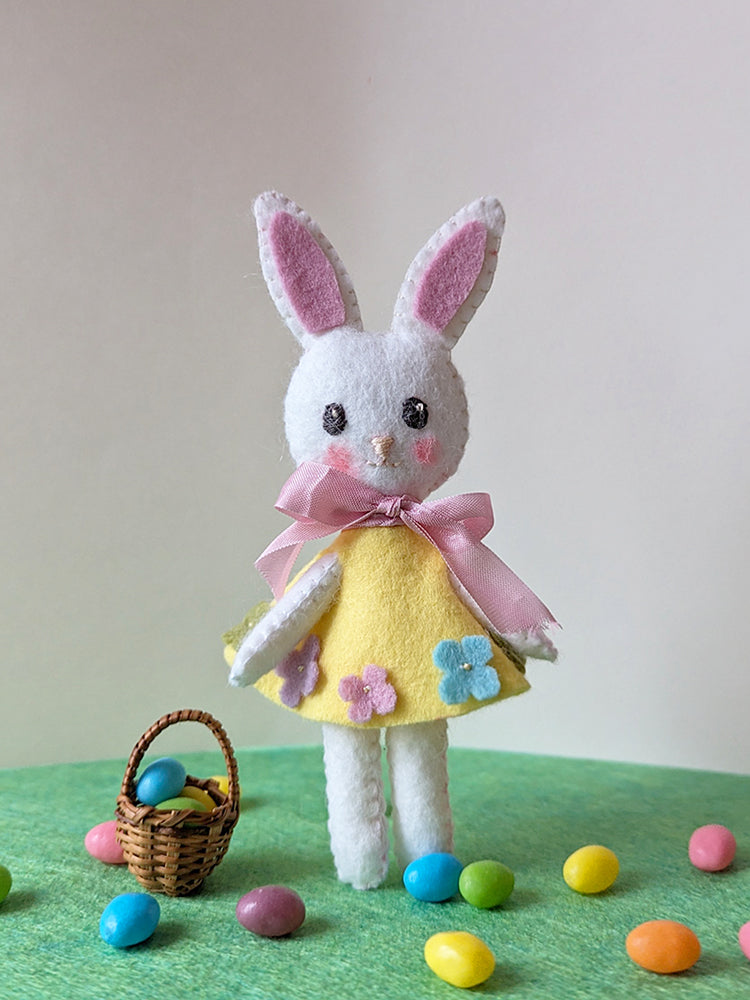
Some bunny is going to be very excited to get this Easter Bunny doll in their basket! Maker Team member Joana of @critterwood.creations.patterns has designed a delightful felt doll that can debut at Easter and be loved the whole year through. This Easter Bunny doll is the perfect conclusion to Joana's year of seasonal dolls!
In the time it takes to watch a movie, you can stitch up an Easter Bunny doll that is dressed to impress! Add you own embellishments or adjust the felt colors based on your stash. Put down the Easter candy you've been sneaking and let's sew instead!
Skill Level: Intermediate
Time: 2-3 hours
Additional Supplies:
Easter Bunny Pattern (click to download)
Felt Scraps in assorted colors
Red Coloring Pencil
Directions:
1. Print the Easter Bunny Pattern above and cut out pattern pieces. Trace pattern onto corresponding felt and cut.
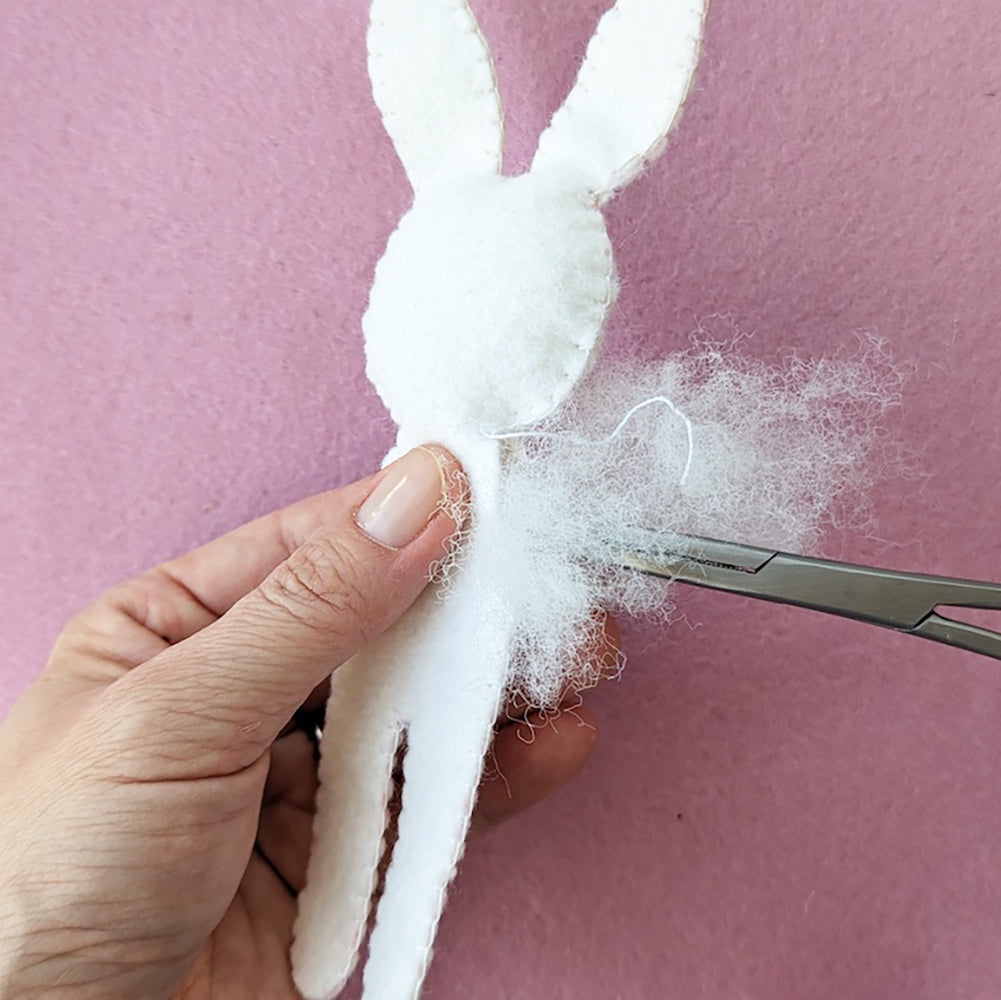
2. Blanket stitch around the arms and body with matching thread.

3. Stop before completely closing to add stuffing and then finish stitching closed.
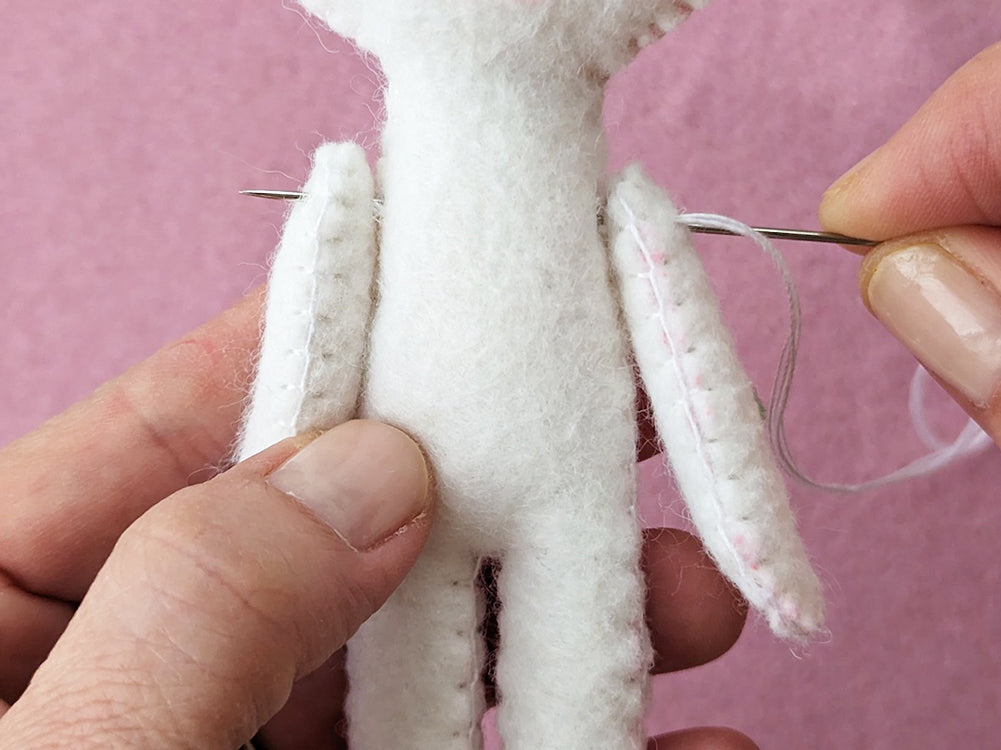
4. To attach arms, start on one side of the body (right under neck) and insert needle all the way to other side. Attach first arm. Pass needle back to the starting point and add second arm. With a back and forth motion, sew on both arms and tie off with a knot under one arm.
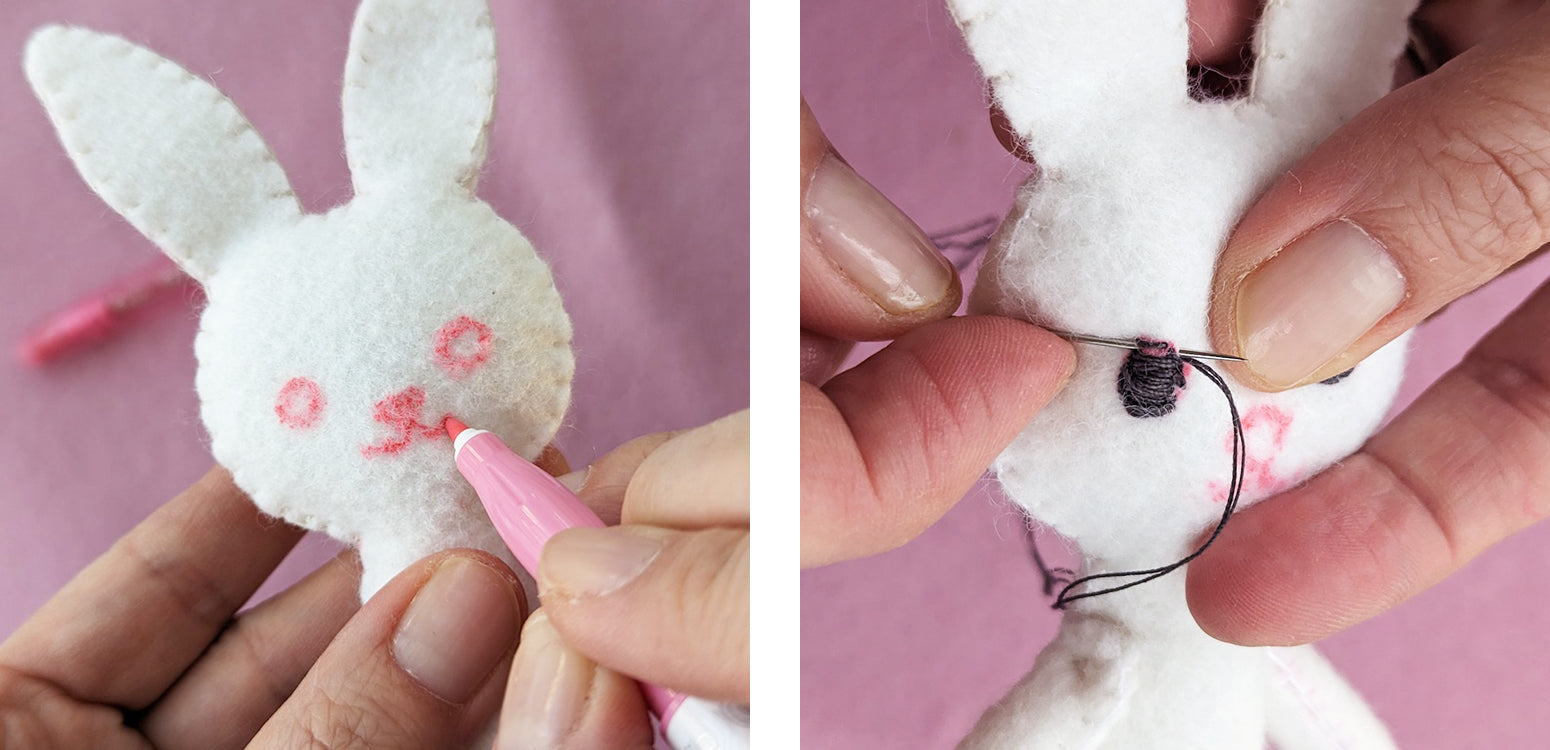
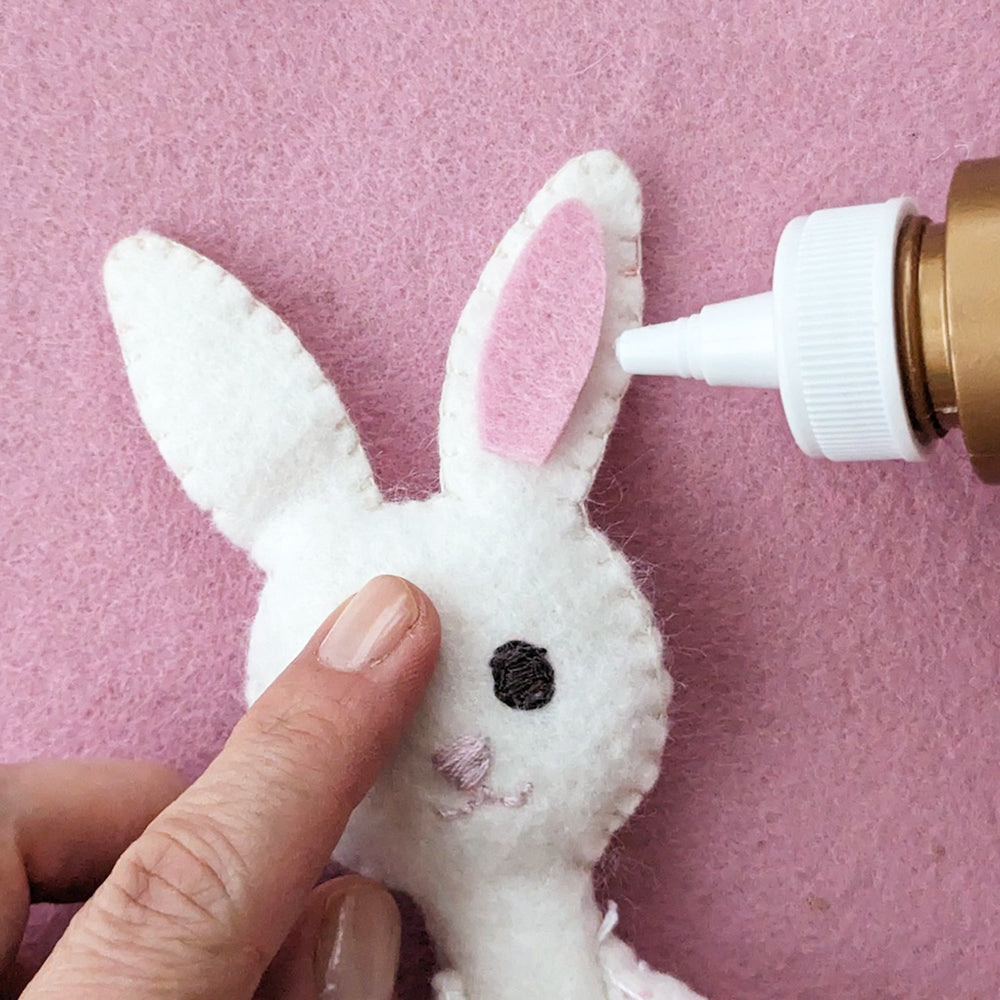
5. Using an erasable pen, draw the eyes and mouth onto face. Satin stitch the eyes and nose and cluster stitch the whites of the eyes.
6. Glue Pink inner ears onto the front of each ear.
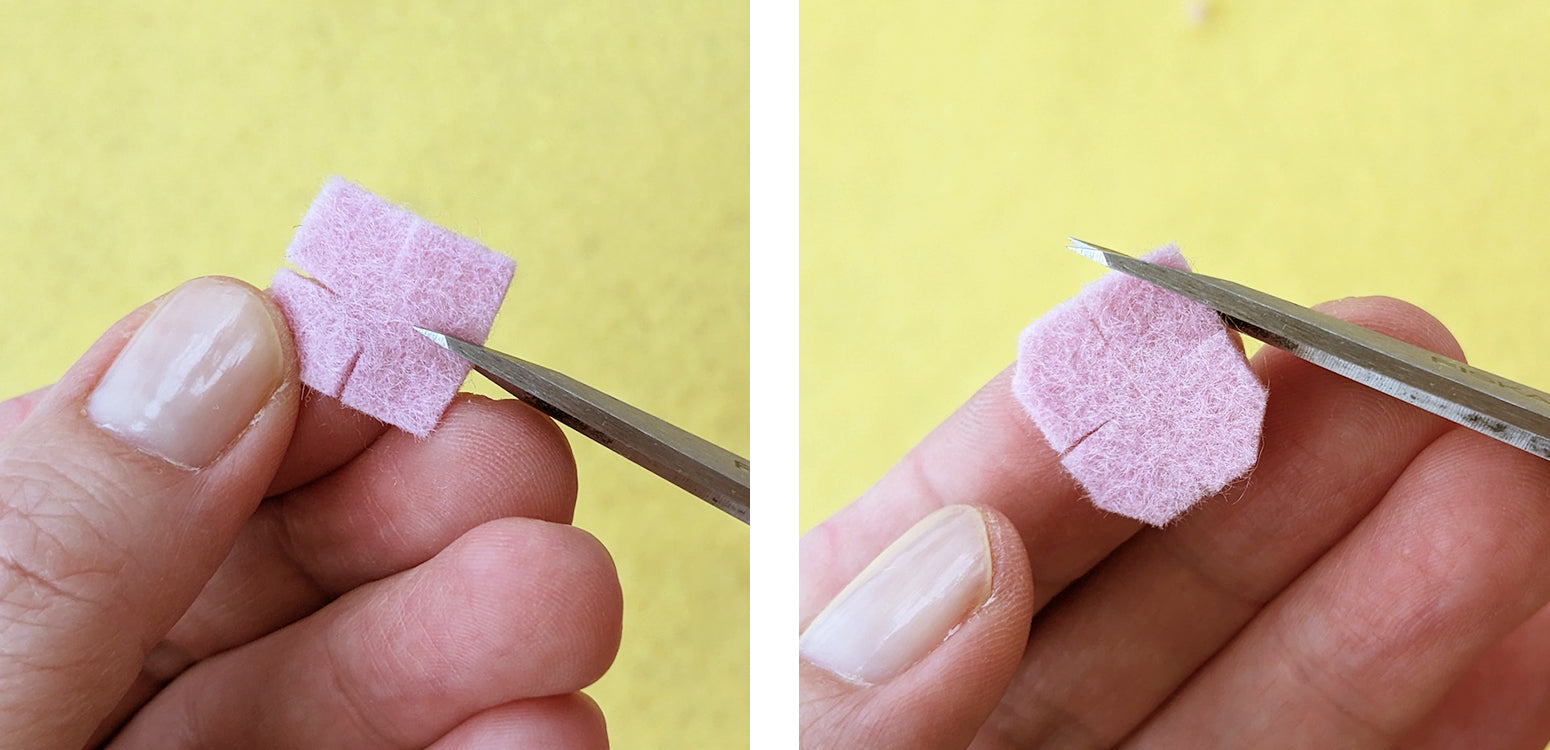
7. To make a flower, cut a 1/2" square from a felt scrap. Halfway along each side, make a small snip into the square toward, but not touching, the center. You can now see four distinct sections. Snip the corner off each of the four sections.
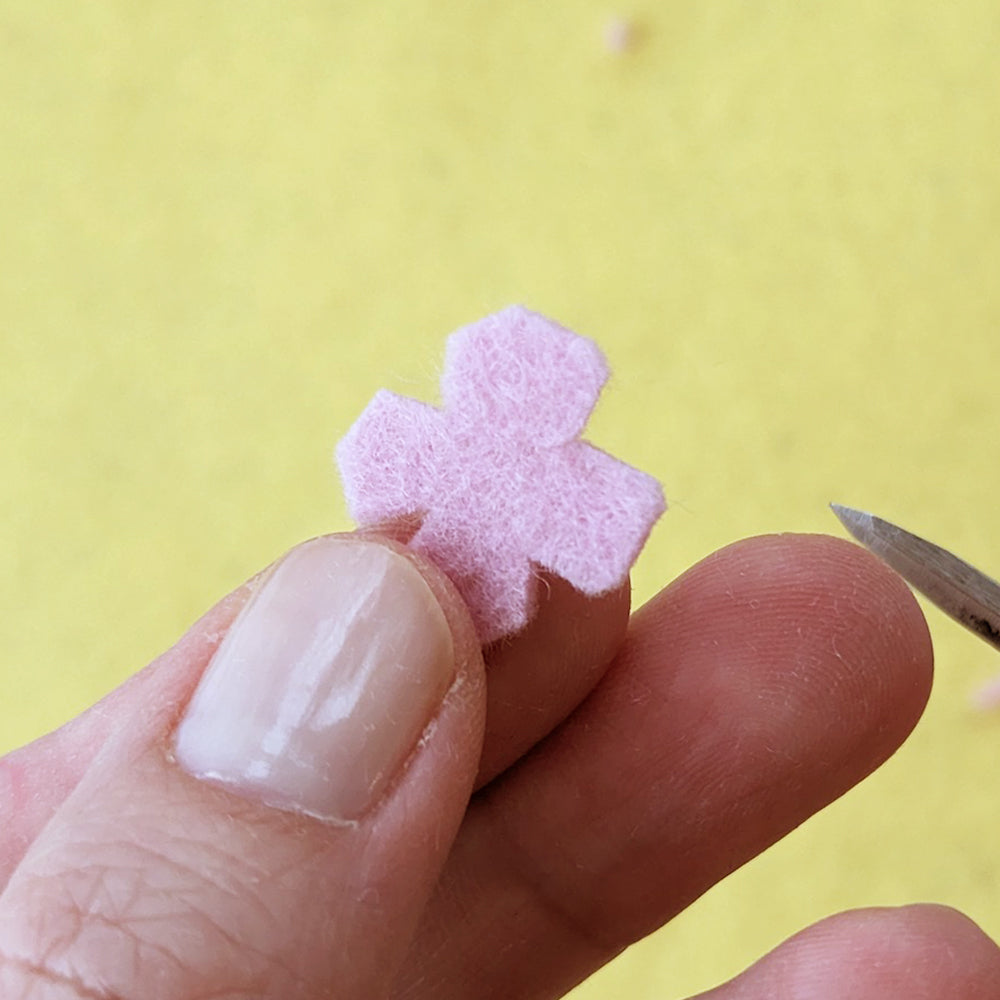
8. Going back to the first four cuts, come from both sides to cut out a V shape. The square of felt now resembles a flower with four petals. Cut 11 more flowers from assorted colors.
9. Attach flowers to bottom edge of the skirt by adding a few stitches in the center of each.

10. Dress the bunny and finish her outfit by tying a bow around the neck.
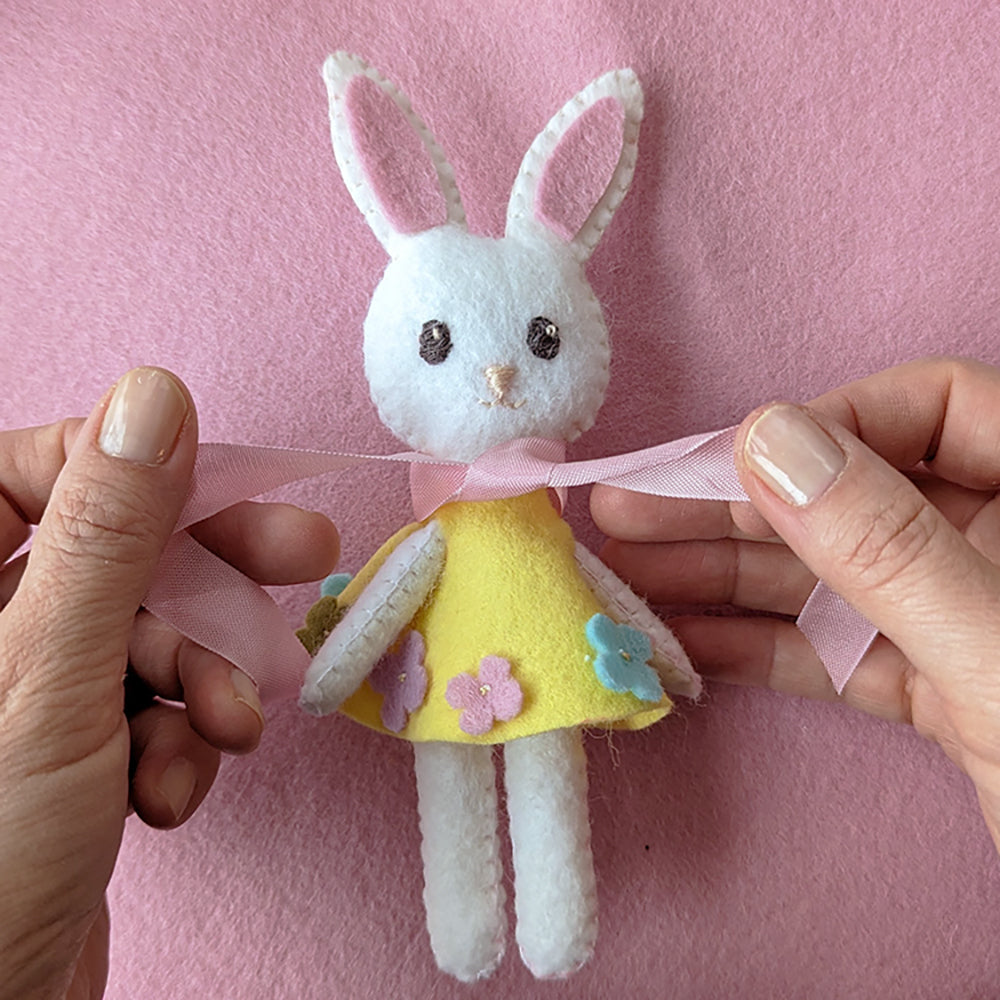
11. Blush the cheeks with a red coloring pencil.
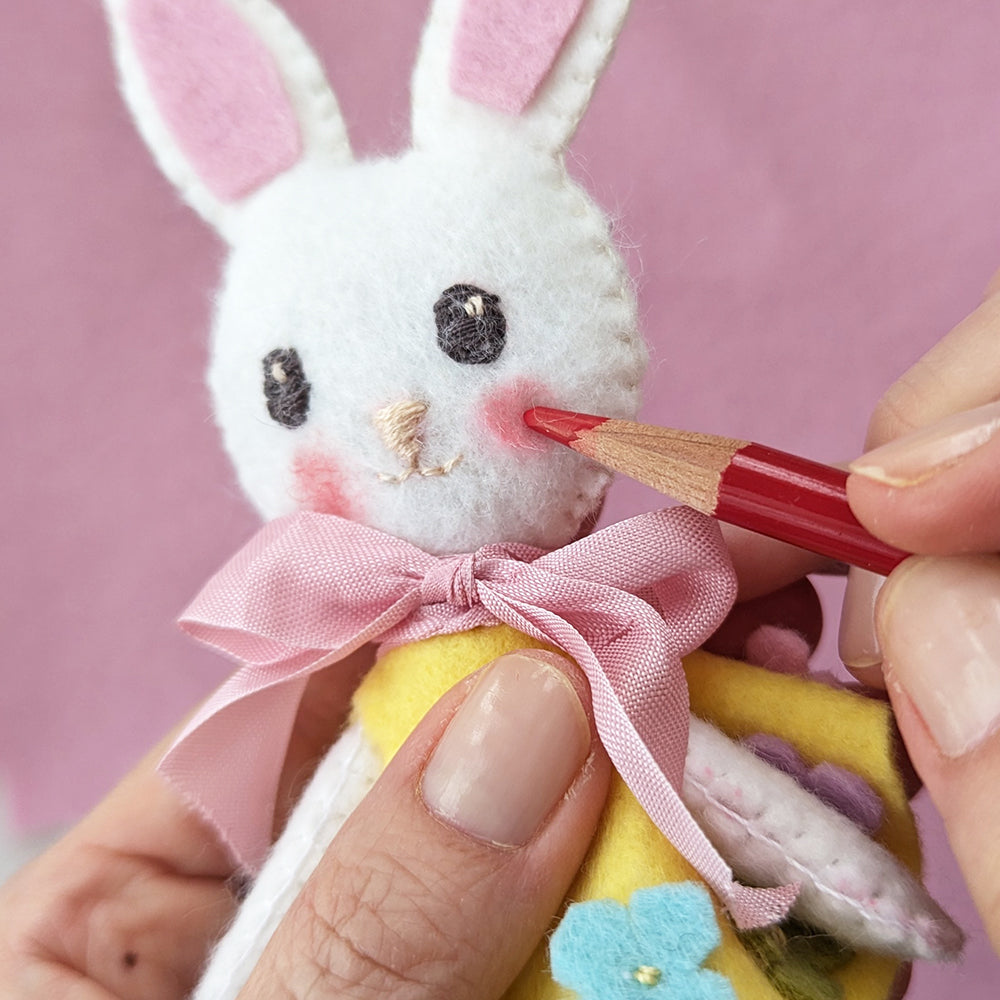
Your bunny is finished! I hope you enjoy making this sweet Spring doll for Easter.
Thanks to Joana for designing and writing this tutorial! You can follow her on Instagram @critterwood.creations.patterns or visit her website. Stay tuned for more tutorials from the Benzie Design Maker Team!


