Share
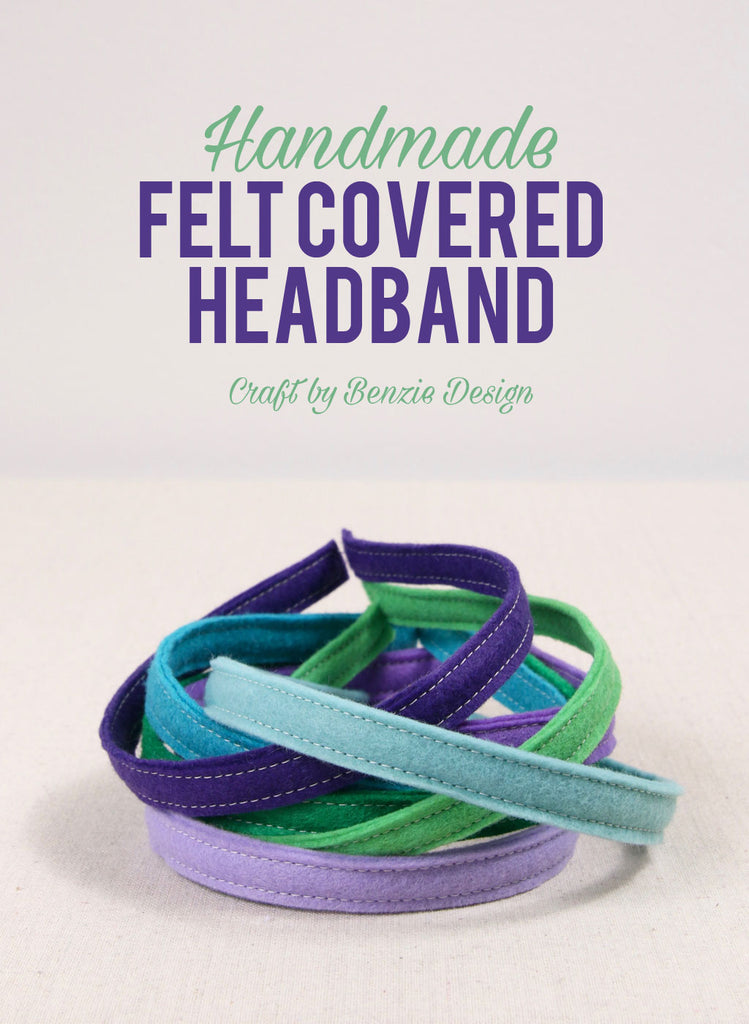 You know you're going to want one in every color -and you might as well! These felt covered headbands are simple to make a great base to embellish! You can assemble these using a sewing machine or by using glue -both methods are described below.
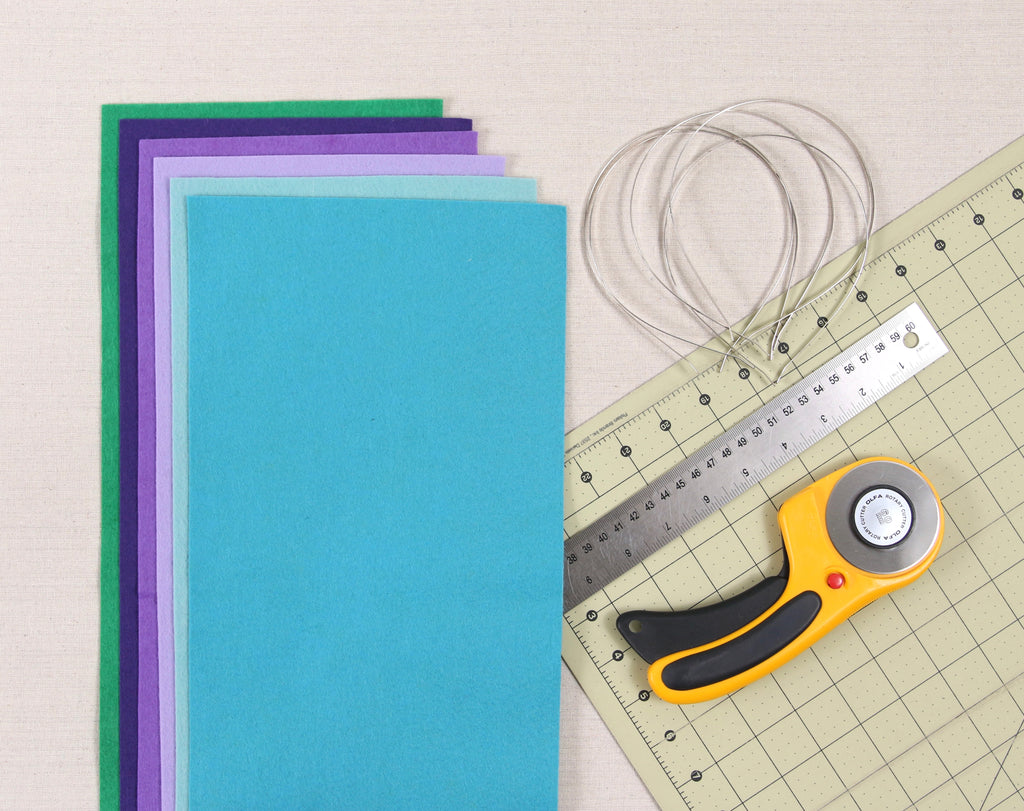
Grab your supplies:
-thin metal headbands
-rotary cutter & mat or scissors
-glue or sewing machine (not pictured)
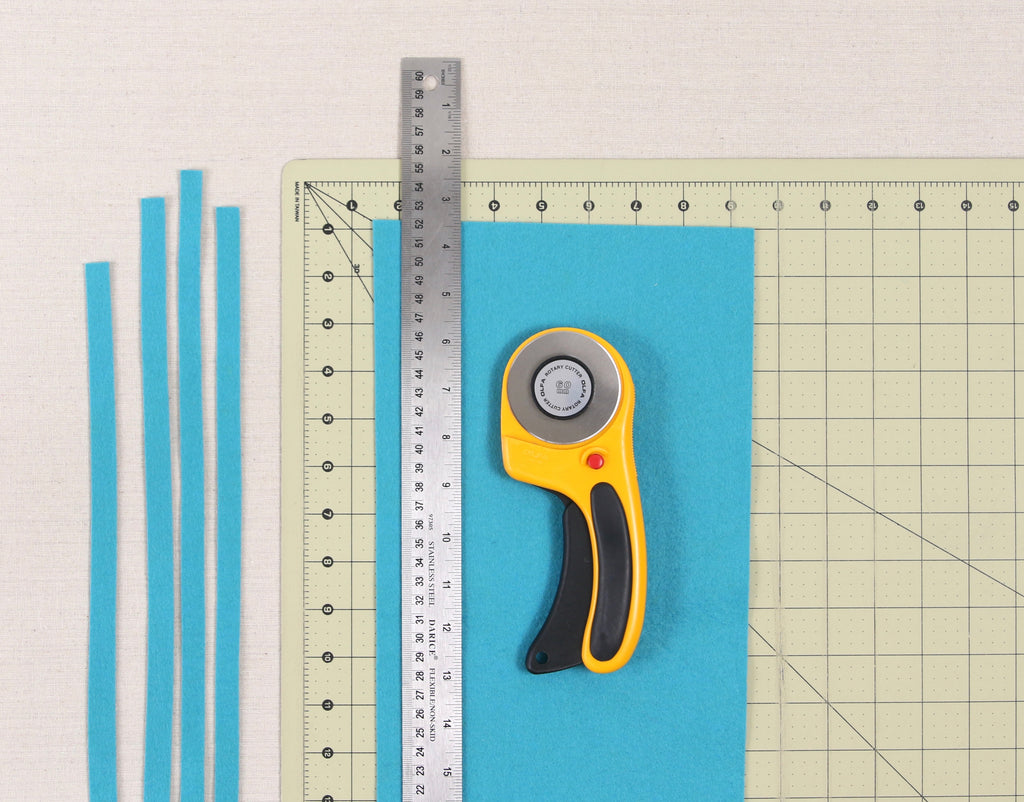
Step one:
You will need two strips of felt 1/2" by 16 1/2" long to make one headband (or go ahead and cut a bunch to make a rainbow!). You can vary the width of your headband by how wide you cut the strips. We find that the best way to cut long strips evenly is with a rotary cutter and ruler -but you can also mark your felt with a disappearing marker, a sharp scissors and a steady hand.
Step two:
Here you can choose if you want to make this a no sew project or add the extra details of stitching!
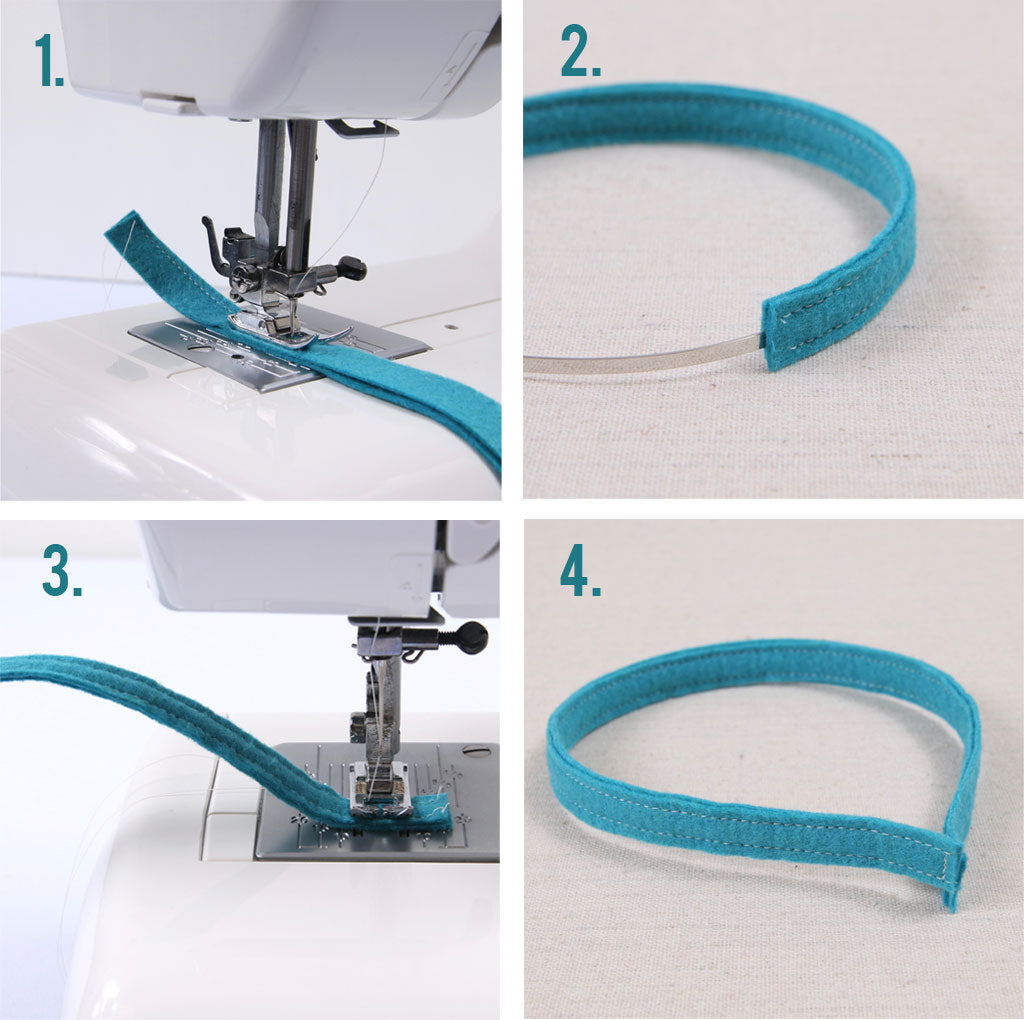
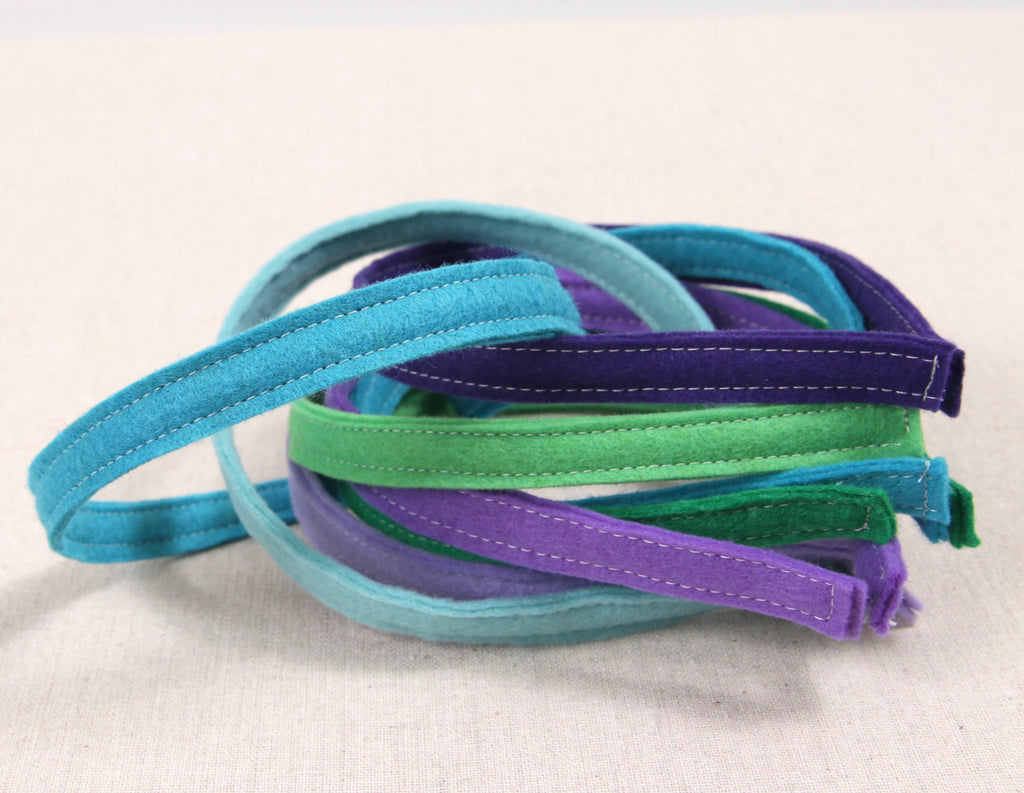
Sew method:
You can hand stitch with embroidery floss but we used a sewing machine! Carefully line up the two strips of felt. Start at on end and stitch all around leaving the end open -making a sleeve for the metal headband to slip into. Place the headband in the open end and slide felt over the metal headband. Stitch felt closed (careful not to sew over the metal band!) and trim to size.
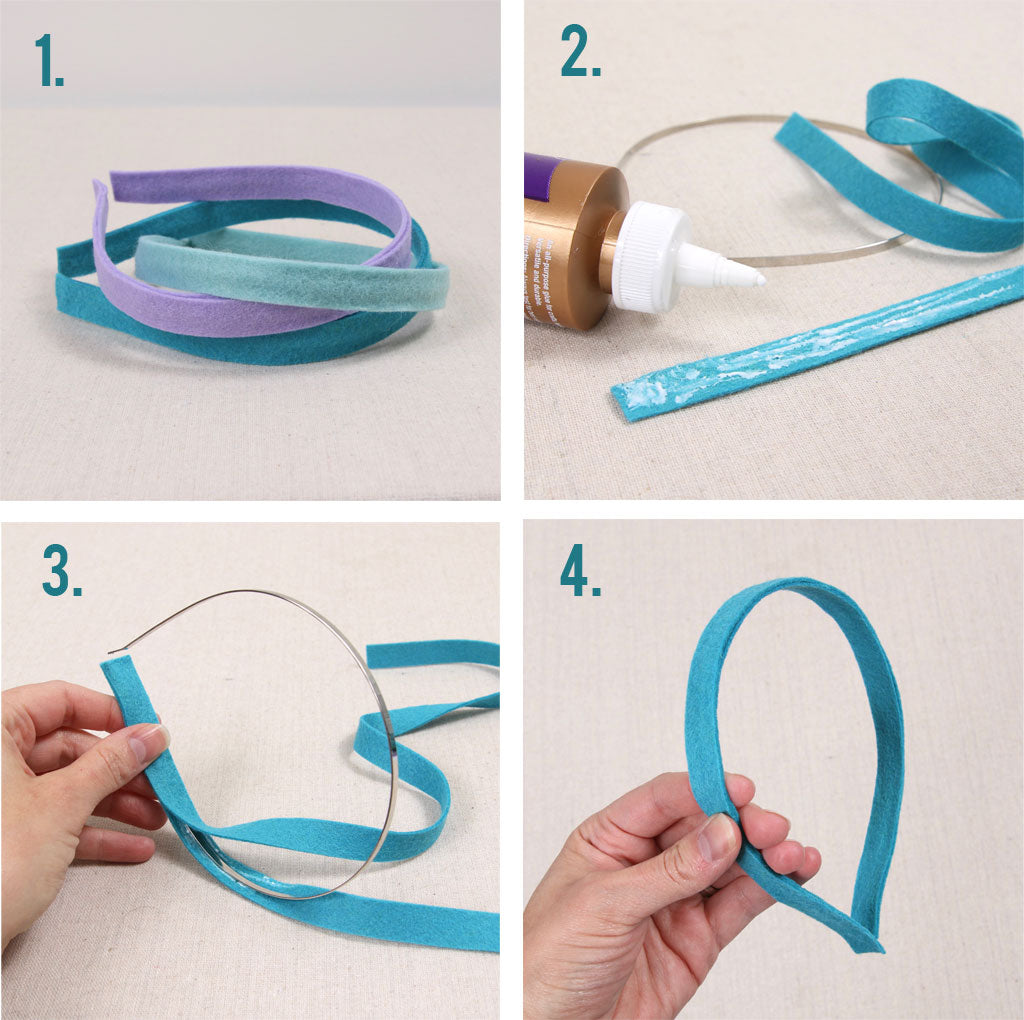
No Sew:
Glue one side of the strip of felt. We like using Tacky Glue. You only need a little bit to get a strong but flexible hold. If you use too much it will soak through the felt making your headband stiff. Carefully sandwich the headband between the two pieces of felt -pinching the length of the felt together to adhere. It's time to try it on!

Check out our Poppy Floral headband & our Rarity Unicorn headband!


